Phalcon Framework Development Setup
Server consumption and performance stand as major concerns for developers and even for clients. To lessen our worries about those things, we can use a tool or framework that focuses on efficiency, and that’s where the Phalcon Framework comes in.
What is Phalcon?

Phalcon is PHP Web Framework written in C Language. Yeah, you’ve read it right, it’s written in C that’s why it is reasonably fast. The best part is we do not need to learn the C to use such a lightweight yet powerful framework. It is also based on MVC, the Model-View-Controller pattern which is a big thing for me.
Setup with Docker
I will be showing you how to initialize a new Phalcon project. Their documentation is a bit tricky though, luckily after some hair pulling I managed to make it work. Below are the steps on how to run the project with the help of Docker.
Prepare Docker Compose
We need to create a docker-compose.yml inside a folder, I’ll just leave to you the folder name. The contents of the file are this:
version: '3.8'
services:
    app:
        build:
            context: .
            dockerfile: docker/app.dockerfile
        working_dir: /var/www
        volumes:
            - ./:/var/www
As you can see we only have one service which is the app, also we will be needing the app.dockerfile inside the docker folder.
Prepare Dockerfile
Initial contents of the docker/app.dockerfile:
FROM php:7.4-fpm

# Git
RUN apt-get update -y \
    && apt-get install -y git

# Specifications
ARG PSR_VERSION=1.1.0
ARG PHALCON_VERSION=4.1.2
ARG PHALCON_EXT_PATH=php7/64bits
In this project, we will be using the fpm docker image with the php version of 7.4, then the git, and below it is the specifications such as the versions and the path.
Install PSR and Phalcon Extension
For the Phalcon to be fully working we need the PSR and the extension, so in the docker/app.dockerfile file:
RUN set -xe && \
        # PSR
        curl -LO https://github.com/jbboehr/php-psr/archive/v${PSR_VERSION}.tar.gz && \
        tar xzf ${PWD}/v${PSR_VERSION}.tar.gz && \
        # Phalcon extension
        curl -LO https://github.com/phalcon/cphalcon/archive/v${PHALCON_VERSION}.tar.gz && \
        tar xzf ${PWD}/v${PHALCON_VERSION}.tar.gz && \
        #Installation
        docker-php-ext-install -j $(getconf _NPROCESSORS_ONLN) \
            ${PWD}/php-psr-${PSR_VERSION} \
            ${PWD}/cphalcon-${PHALCON_VERSION}/build/${PHALCON_EXT_PATH} \
        && \
        # Clean up
        rm -r \
            ${PWD}/v${PSR_VERSION}.tar.gz \
            ${PWD}/php-psr-${PSR_VERSION} \
            ${PWD}/v${PHALCON_VERSION}.tar.gz \
            ${PWD}/cphalcon-${PHALCON_VERSION} \
        && \
        php -m

COPY docker-phalcon-* /usr/local/bin/
First is the downloading of the PSR and the Phalcon Extension, then their installation using the docker’s docker-php-ext-install. We don’t want our container to be messy so a bit of cleaning is needed.
Use Phalcon Devtools
In preparing the devtools composer is needed so in the last part of the dockerfile:
RUN curl -sS https://getcomposer.org/installer | php -- --install-dir=/usr/local/bin --filename=composer
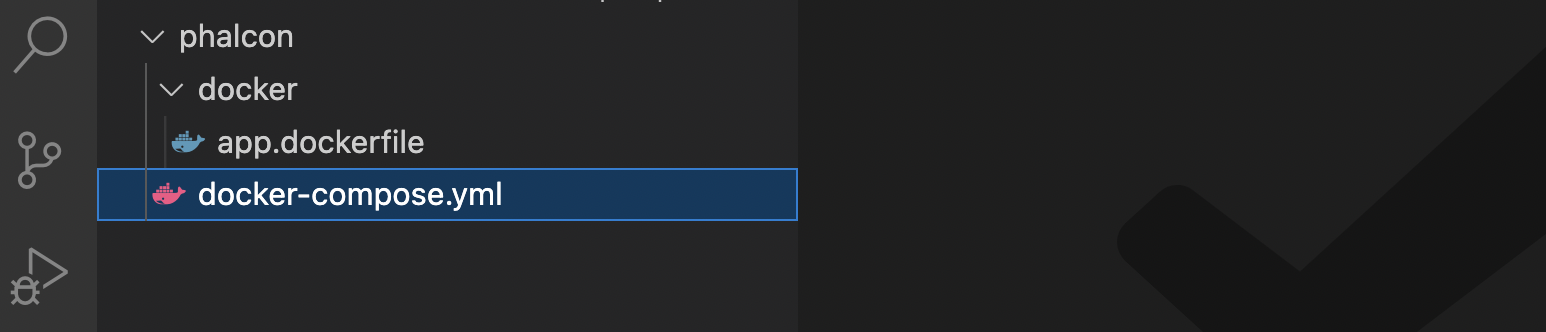
By the way my simple file structure looks like this, atleast for now:
Here it is, the one that makes the development easier, the Devtools. The setup for this is a bit different, this needs to be inside the docker container.
Here’s the command for starting the container, please be advised that this may take time on the first execution:
docker-compose up -d
To go inside the specific app container:
docker-compose exec app bash
The installation of devtools inside the container (This may also take time due to the installation of packages via composer):
git clone https://github.com/phalcon/phalcon-devtools.git \
    && cd phalcon-devtools \
    && composer install \
    && ln -s $(pwd)/phalcon /usr/bin/phalcon \
    && chmod ugo+x /usr/bin/phalcon
After the installation, the list of commands can be shown by executing:
phalcon --help
To create new phalcon project:
phalcon create-project myproject
Setup Nginx Server
Configuring the server, actually we can use any web server, but this time we will be using nginx. The docker-compose.yml is only configured to build the app container, so we need to add this:
    web:
        build:
            context: .
            dockerfile: docker/web.dockerfile
        working_dir: /var/www/
        volumes:
            - ./:/var/www
        depends_on:
            - "app"
        ports:
            - 80:80
It requires the web.dockerfile under the docker folder which contains:
FROM nginx:1.21

COPY docker/default.conf /etc/nginx/conf.d/default.conf

RUN ln -sf /dev/stdout /var/log/nginx/access.log \
	&& ln -sf /dev/stderr /var/log/nginx/error.log
The COPY docker/default.conf portion also requires the default.conf under the docker folder with this nginx configuration:
server {
    listen 80;
    server_name default;

    index index.php index.html index.htm;
    root /var/www/myproject/public;

    location / {
        try_files $uri $uri/ /index.php?_url=$uri&$args;
    }

    location ~ \.php$ {
        fastcgi_split_path_info ^(.+\.php)(/.+)$;
        fastcgi_pass app:9000;
        fastcgi_index index.php;
        include fastcgi_params;
        fastcgi_param SCRIPT_FILENAME $document_root$fastcgi_script_name;
        fastcgi_param PATH_INFO $fastcgi_path_info;
    }
}
The part root /var/www/myproject/public; depends on the name of the phalcon project created, in my case, it is “myproject”.
For the docker changes to be reflected, these are the commands:
docker-compose down
docker-compose up
If there are unexpected changes, you may need the build command before starting the container again:
docker-compose build
Project Structure and Output
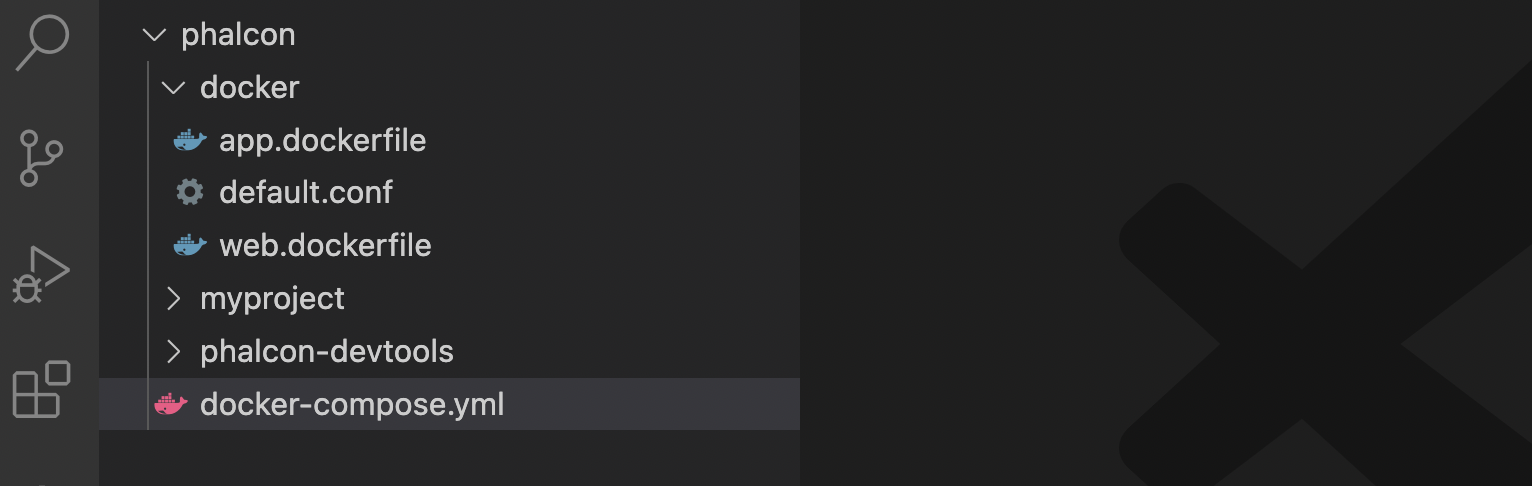
This is the full directory structure.
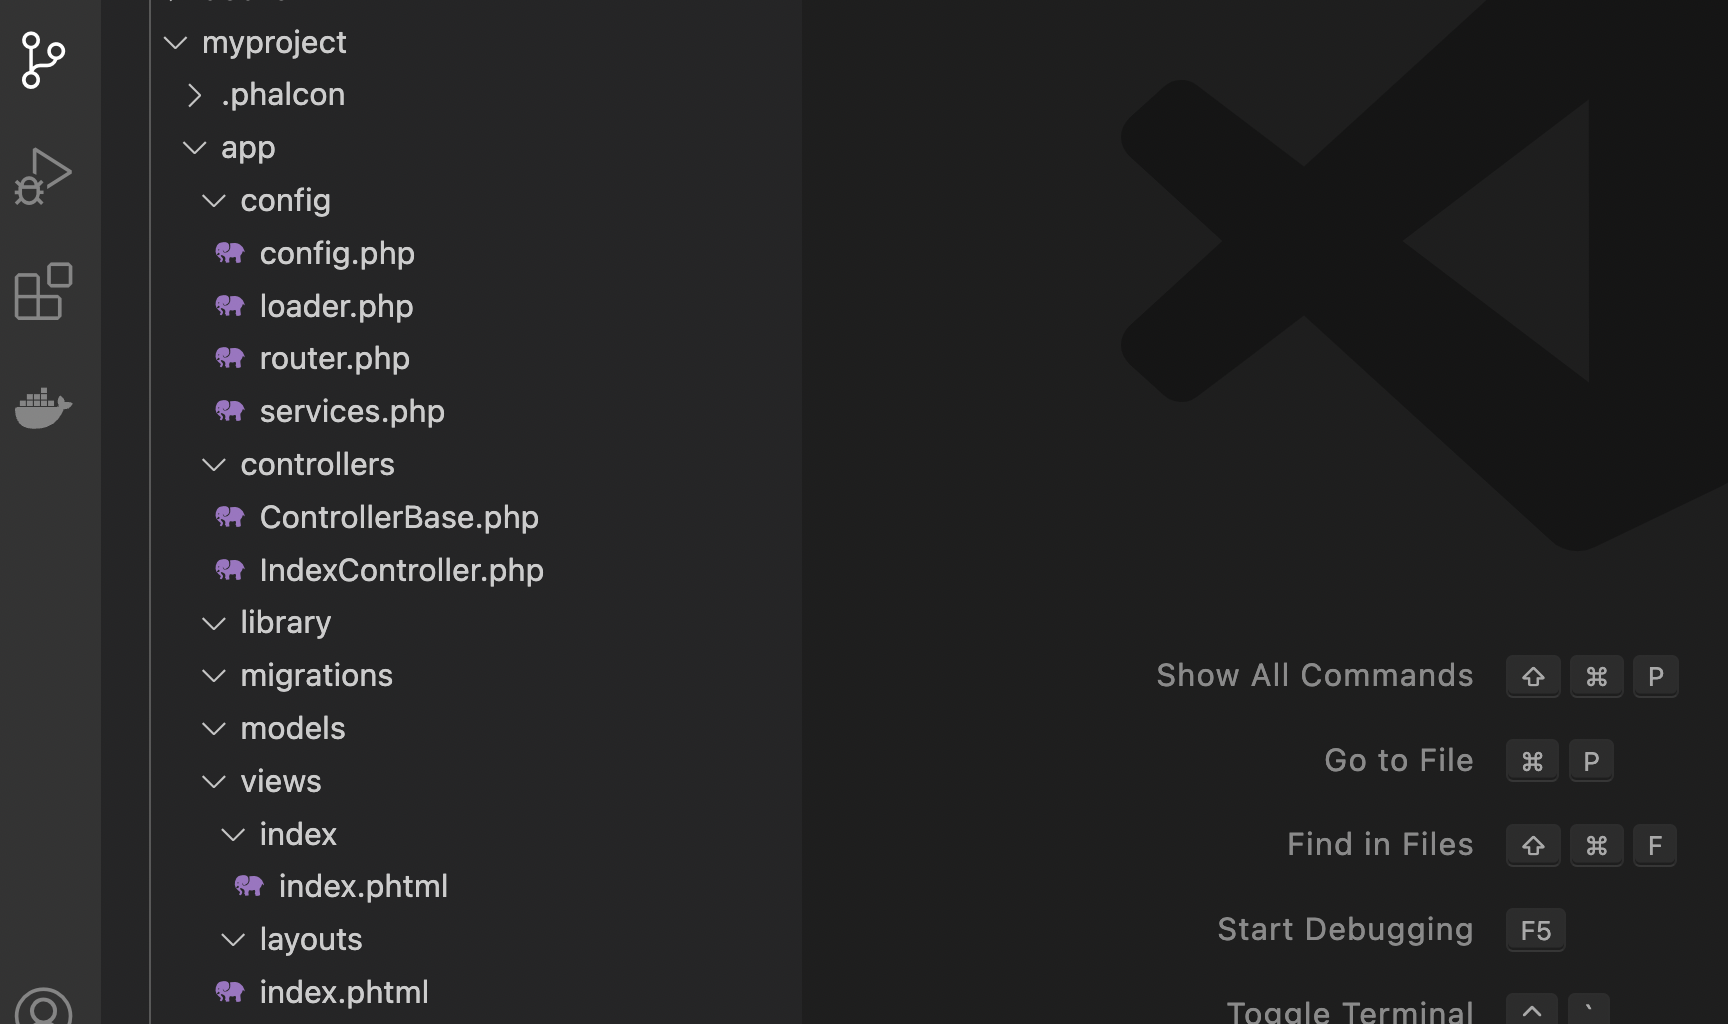
Inside the “myproject” folder part 1.
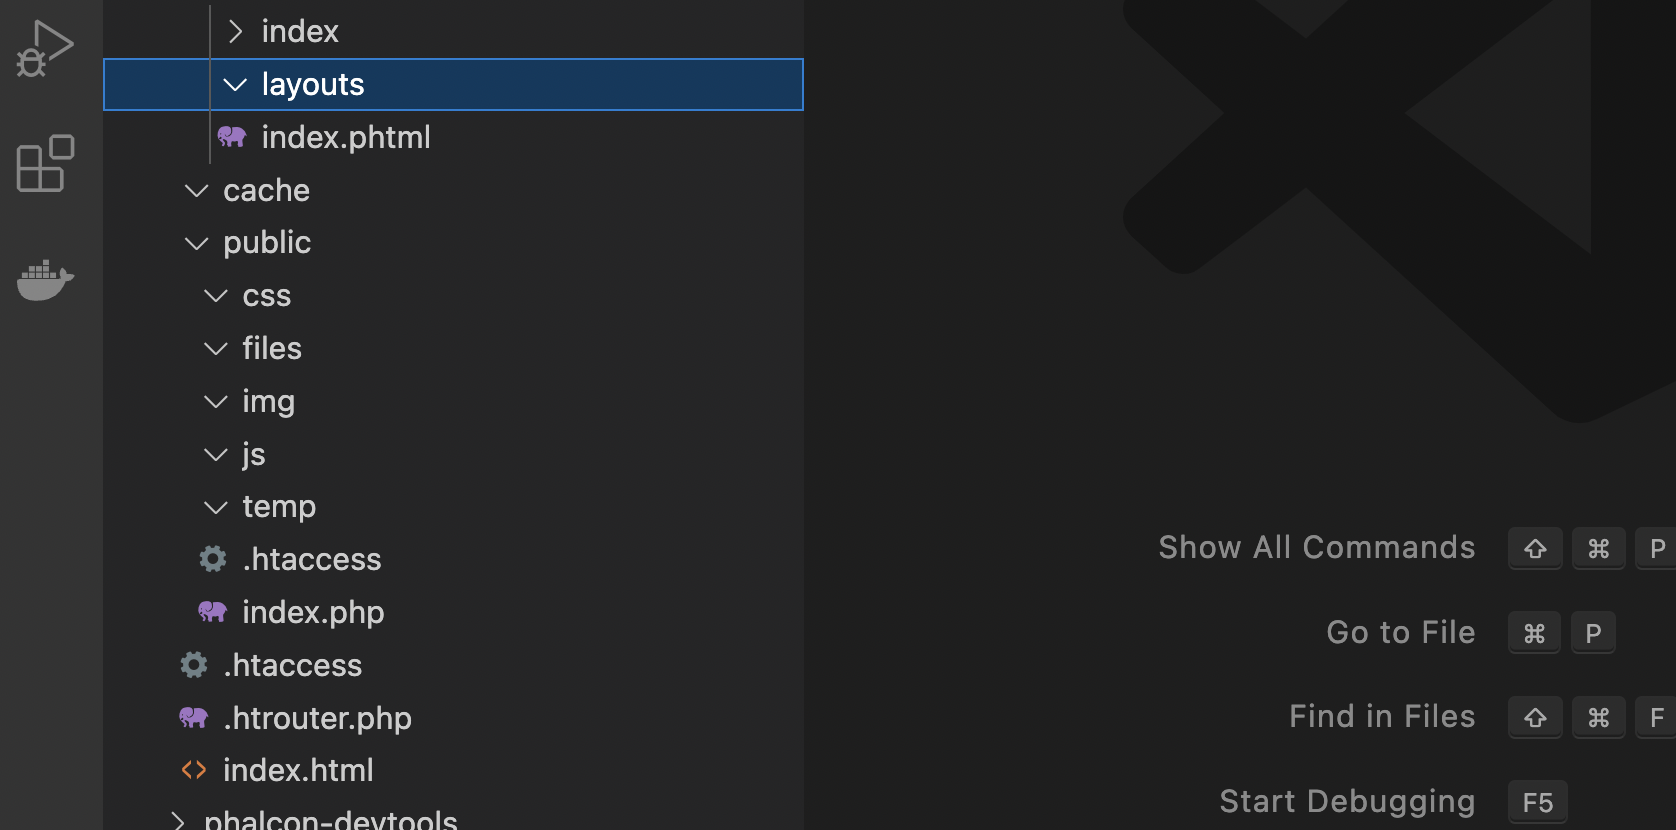
Inside the “myproject” folder part 2.
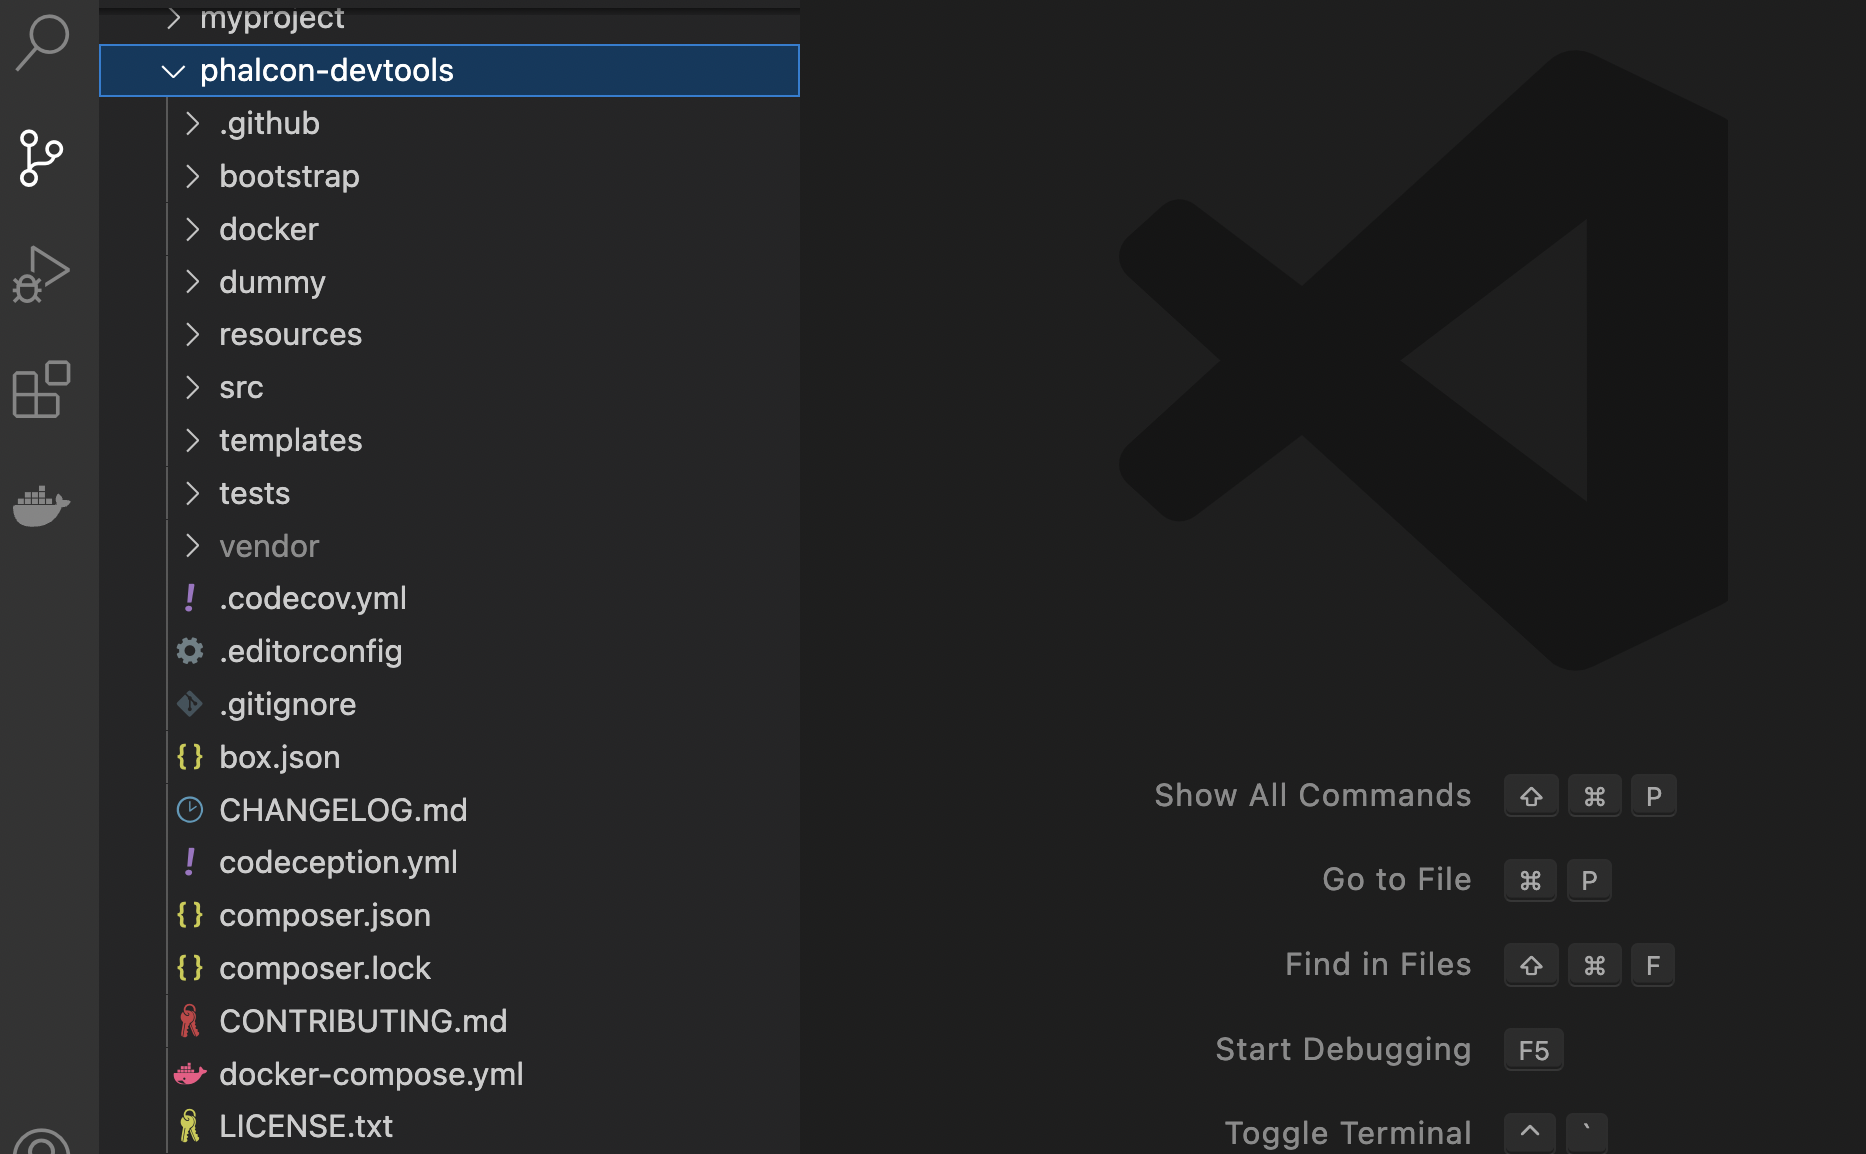
Inside the “phalcon-devtools” folder part 1.
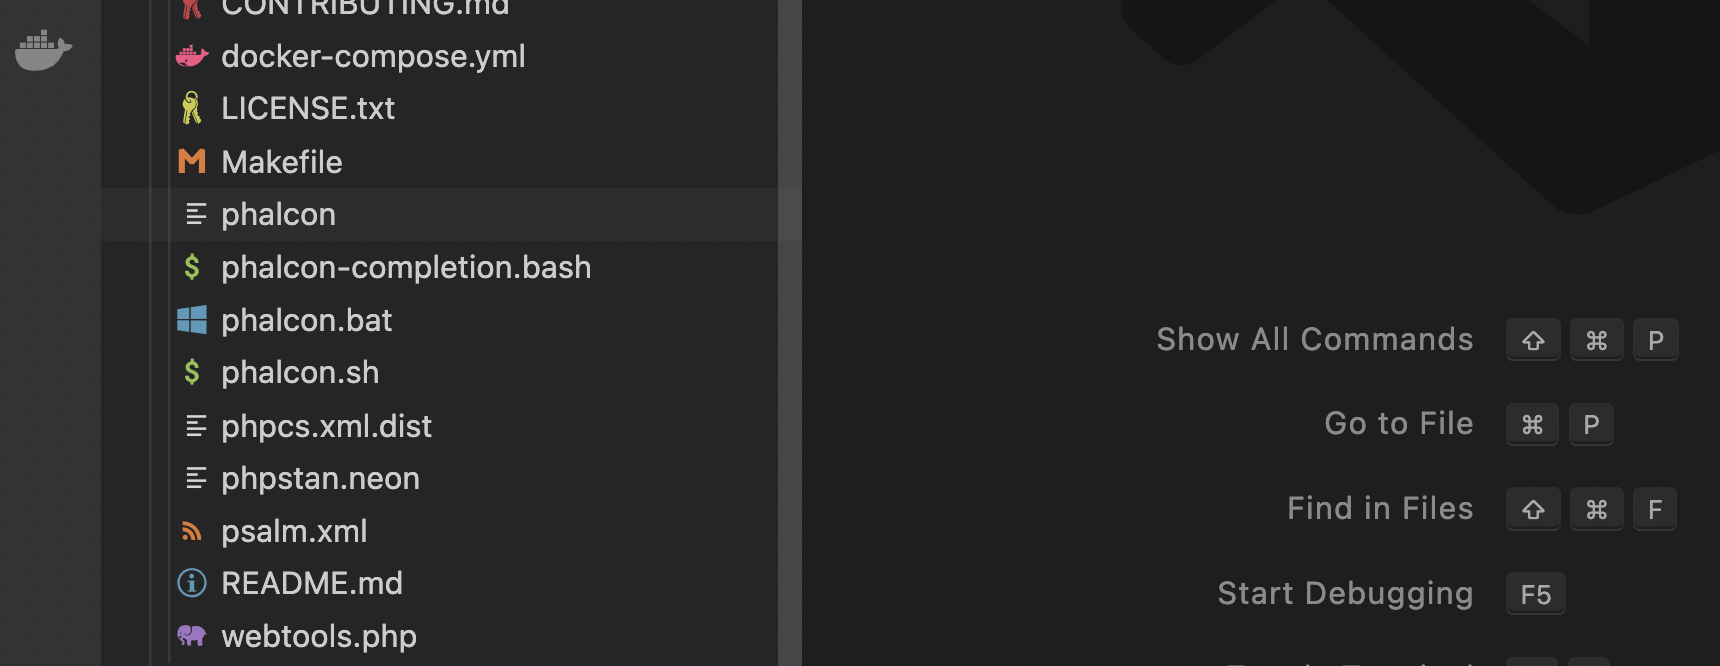
Inside the “phalcon-devtools” folder part 2.
Now that the nginx is running, we can open the browser and check if the project setup is successful. It will show something like this.

You can find the working code here
For more information on Phalcon you can read the official documentation here.